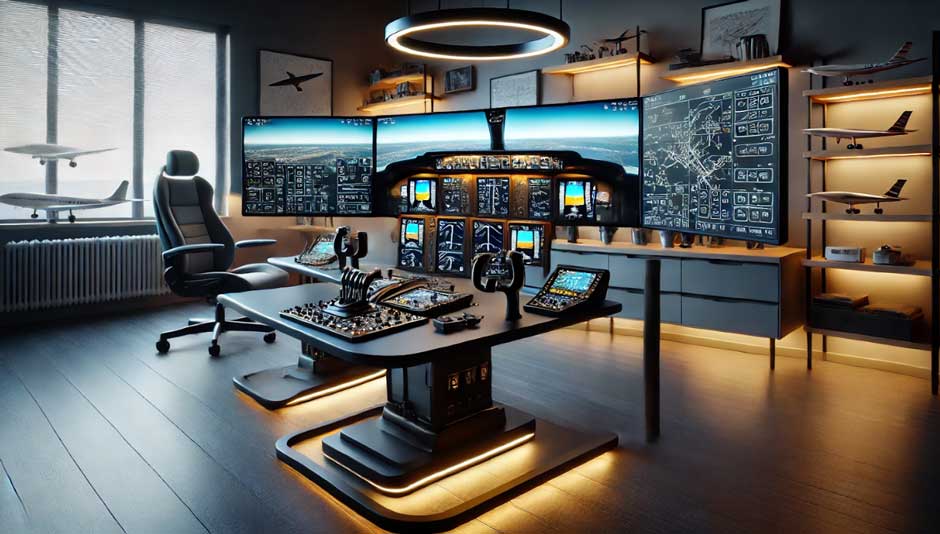
How to Build the Ultimate G1000 Simulator Setup at Home

Flying a modern aircraft requires skill, precision, and a deep understanding of the onboard avionics systems. One of the most advanced and widely used avionics systems is the Garmin G1000. If you’re a pilot or an aviation enthusiast looking to improve your flying skills or simulate real-world cockpit experiences, building the ultimate G1000 simulator setup at home can be a game-changer. With the right equipment and guidance, you can recreate the feel of flying a G1000-equipped aircraft from your home. This blog will walk you through everything you need to create a professional-grade flight simulation experience.
Why Choose a G1000 Simulator Setup?
The G1000 simulator is an excellent tool for pilots in training, experienced flyers, and aviation enthusiasts. The G1000 avionics system is used in many modern aircraft, offering a glass cockpit experience with integrated navigation, communication, and aircraft systems monitoring. By building a simulator at home, you can:
- Practice flight maneuvers and navigation.
- Familiarize yourself with advanced avionics.
- Save money on training sessions in real aircraft.
Step-by-Step Guide to Building Your Flight Simulator Setup
1. Choose the Right Hardware
The foundation of your flight simulator setup starts with choosing the proper hardware. Essential components include:
- Flight Simulator Yoke and Pedals: Invest in high-quality yoke and rudder pedals for realistic aircraft control.
- G1000 Panel Hardware: Look for specialized G1000 panels, such as the Garmin G1000 Suite replicas, or third-party options like RealSimGear or Logitech.
- Monitor Setup: Dual monitors are ideal for simulating the Primary Flight Display (PFD) and Multi-Function Display (MFD).
- Powerful PC: Ensure your computer has a strong processor, high-end graphics card, and sufficient RAM to run flight simulation software smoothly.
2. Pick the Best Flight Simulation Software
Choosing the right software is crucial to your G1000 simulator experience. Popular options include:
- Microsoft Flight Simulator: Known for its incredible graphics and realistic flight dynamics.
- X-Plane: Offers exceptional avionics modeling and system depth, perfect for serious pilots.
- Prepar3D: Used by professional pilots and aviation schools.
Ensure your chosen software supports G1000 integration or is compatible with your hardware setup.
3. Set Up Your Workspace
Your workspace can make or break the immersive experience. Follow these tips:
- Place your monitors at eye level to mimic an accurate cockpit view.
- Arrange your controls, yoke, pedals, and G1000 panels ergonomically.
- Use a sturdy desk or mount to prevent equipment movement during use.
4. Calibrate and Configure Your System
Once your flight simulator setup is complete, calibrate the controls and configure the software settings for optimal performance. Assign the correct functions to your yoke, pedals, and G1000 hardware. Take time to map out shortcuts and practice using all the systems effectively.
5. Enhance Realism with Add-Ons
To take your G1000 simulator experience to the next level, consider:
- Scenery Add-Ons: High-quality scenery enhances visual immersion.
- Aircraft Models: Purchase or download aircraft equipped with G1000 systems.
- VR Integration: Virtual reality can offer unmatched realism if your system supports it.
Building the ultimate G1000 simulator setup home is an investment in your passion for aviation. Whether learning to fly, honing your skills, or simply enjoying the thrill of flying, a well-built simulator offers unparalleled convenience and realism. With the right hardware, software, and dedication, you can create a setup that rivals professional simulators. So, start assembling your dream flight simulator setup today and take to the virtual skies like a pro!


